Four-panel step-by-step infographic showing a woman with long dark hair demonstrating hair color application with Garnier Glossy Curl Color: putting on black gloves labeled "GLOVES ON," shaking a Glossy Curl Color brown and white product bottle labeled "SHAKE," applying product with gloved hands to her hairline draped in a beige towel labeled "APPLY," and revealing smooth, glossy dark wavy hair against a peach background labeled "RINSE & STYLE." Four-panel step-by-step infographic showing a woman with long dark hair demonstrating hair color application with Garnier Glossy Curl Color: putting on black gloves labeled "GLOVES ON," shaking a Glossy Curl Color brown and white product bottle labeled "SHAKE," applying product with gloved hands to her hairline draped in a beige towel labeled "APPLY," and revealing smooth, glossy dark wavy hair against a peach background labeled "RINSE & STYLE."

How to apply hair color on curly hair at home

A step-by-step guide to using ammonia-free hair dye and a gloss shot for a beautiful, radiant finish.

Coloring textured hair at home requires a strategic approach to protect your curl pattern and prevent breakage. Curly hair is naturally prone to dryness, meaning traditional thick creams are often difficult to distribute. A liquid gel dye solves this by gliding effortlessly through dense canopies, ensuring complete saturation without aggressive combing. Achieving a vibrant, healthy-looking finish involves careful sectioning, applying a gentle ammonia-free color, and deeply replenishing lost lipids with a rich conditioner. Finally, sealing the cuticle with a targeted oil topcoat locks in hydration and shine. Read on for a complete step-by-step guide to prepping, dyeing, and maintaining your strands safely using the comprehensive Garnier Nutrisse 0% Ammonia Glossy Curl Color kit.

In this article:

• Understanding Your Curl Structure First
 Why Liquid Gel Formulas Work Best
 Step 1: Preparation
 Step 2: Section Your Curls
 Step 3: Apply Your Hair Color at Home 
 Step 4: Rinse And Deeply Condition
 Step 5: Finish With a Hydrating Gloss Shot
 Enjoying Your Vibrant New Color

Summary: Key Takeaways

• Protect Your Pattern: Coloring textured hair requires a gentle, ammonia-free formula to maintain essential moisture, protect delicate keratin bonds, and prevent severe dryness.
 Choose a Liquid Gel Texture: Unlike heavy creams that can cause mechanical breakage through aggressive combing, a liquid gel dye easily glides through dense curls for seamless, vibrant coverage.
 Prioritize Preparation: Depending on your length and curl type (from 2B waves to 4C coils), properly assessing the number of boxes you need ensures complete, non-patchy saturation.
 Replenish & Seal: Always follow your color application with a deeply hydrating conditioner and a targeted gloss shot to lock in moisture, smooth the cuticle, and maximize your bounce and shine.

Understanding Your Curl Structure First

Curly hair is naturally more fragile than straight hair because its twisted shape prevents scalp oils from traveling down the hair shaft. This uneven moisture distribution means curls require gentle, hydrating color formulas to prevent severe dryness and breakage.

Think of your hair fiber as a complex maze. The biology of curl formation comes down to keratin distribution. Your hair's cortex is made of two parts: the orthocortex and the paracortex. In curly hair, these cells are arranged irregularly, creating areas of varying density that physically force the hair fiber to bend and twist. Because of this irregular shape, sebum from your scalp cannot easily travel down the shaft to coat the entire strand. 

This makes curls naturally prone to dryness. Using harsh chemicals can completely zap that remaining moisture, leading to the dreaded loss of your natural curl pattern. Choosing an ammonia free hair dye is the first step in your curly hair care journey. It respects the hair fiber while still delivering rich pigment. When you understand the rules of how your hair absorbs moisture, you can build a winning strategy.

Why Liquid Gel Formulas Work Best

A liquid gel formula provides superior slip and spreadability compared to traditional heavy creams. This allows the dye to easily glide through dense, textured hair, ensuring every strand is evenly coated for uniform color results without aggressive pulling.

If you have thick, coily hair, you already know the struggle of trying to stretch a single box of dye. It feels like an unwinnable boss battle. You might find yourself using multiple boxes of hair dye just to cover the mid-lengths, only to end up with patchy results. Here is your ultimate cheat code. It all comes down to viscosity. A liquid gel texture melts into the hair rather than sitting on top of it. It easily penetrates dense canopies, making it an essential tool when you want a seamless application. 

Garnier Nutrisse 0% Ammonia Glossy Curl Color allows for easy saturation of any curl type for 5X less breakage1. This means you get the vibrant, 100% gray coverage you want without compromising the structural integrity of your coils. The slip provided by the gel means you do not have to aggressively comb the product through, which protects the hair shaft from mechanical damage.

How to Color Curls at Home

Step 1: Preparation

Proper preparation starts before you even open the box, specifically, by making sure you actually have enough dye to fully saturate your texture. Running out of product mid-process is the fastest way to get patchy results. Your box quantity depends on both your length and your curl type (from 2B waves to 4C coils).

If your hair is ear to chin-length, one box is perfectly sufficient across all curl types. For shoulder-length hair, you will need one box for looser textures (2B to 3B), but you should grab two boxes if you have tighter curls and coils (3C to 4C) to account for the density. For long hair, plan for two to three boxes for looser waves, and a strict three boxes for tight coils. Having the correct amount of Garnier Nutrisse 0% Ammonia Glossy Curl Color guarantees complete, glossy coverage.

When it comes to at-home hair color, safety preparation is just as important as your product count. Always do a patch test 48 hours in advance of using any colourant products. After 48 hours, check for any reaction or irritation. If you notice anything, please discontinue use of the product.

Step 2: Section Your Curls

Once you are ready to begin, make sure your hair is completely dry and fully detangled. Forcing a comb through wet, dye-soaked curls puts massive stress on the hair fiber and causes unnecessary mechanical breakage. Put on your gloves and twist off the tip of the Curl Caring Developer Bottle.

1.  Unscrew the top of the Curl Glazing Color Bottle, pour it into the developer, recap tightly, and shake well.
2.  Part your dry hair down the middle from forehead to nape, then create horizontal parts from ear to ear.
3.  Secure each of these four to six sections with a plastic clip.

This is a fundamental part of your curly hair routine steps for coloring. It keeps the process organized and ensures that the vegan hair dye reaches every single root evenly.

Close-up of a brown and white hair color bottle labeled "Nutrisse 0% Ammonia, Curl Caring" with glossy dark liquid dripping down its sides.

Step 3: Apply Your Hair Color at Home

Start applying the color mixture at the roots, working section by section to fully saturate the new growth. Then, pull the remaining mixture through the mid-lengths and end until the hair is completely saturated, leaving it to process for 30 minutes.

Time for the main event. Working one section at a time, apply the hair dye directly to the roots. Make quarter-inch parts within your section to ensure the liquid gel covers every single gray hair. Massage it in gently with your gloved fingers. 

Once the roots are completely covered, apply the rest of the mixture down the lengths and ends of your curls. Stick with us here. You want the hair to feel completely saturated, almost wet with product. If the mixture gets on your skin, rinse it away immediately with cool water. Set your timer for exactly 30 minutes. Taking your time with the application ensures that the color develops evenly, giving you a rich, multi-dimensional shade.

Step 4: Rinse And Deeply Condition

After 30 minutes, massage the hair with a little water to create a lather, then rinse thoroughly until the water runs clear. Follow immediately with a moisture-rich conditioner to replenish hydration and seal the hair cuticle.

When that 30-minute alarm hits, resist the urge to just jump under the showerhead. Instead, add a splash of water and gently massage your scalp to emulsify the dye into a lather. This helps lift the color off the skin and ensures a cleaner rinse. Rinse thoroughly until the water runs completely clear, then gently squeeze out the excess water.

Next comes the recovery phase for your curly hair care journey. Apply a generous amount of the included Curl Moisturizing Conditioner. Packed with nourishing ingredients like olive, avocado, coconut, argan, and shea oils, this conditioner is essential for restoring the balance of your hair fiber. Leave it on for two to five minutes. This step deeply hydrates the hair, delivering up to 11X more moisture to curls that desperately need it after a color treatment.

Step 5: Finish with a Hydrating Gloss Shot

To finish the process, the Garnier Nutrisse 0% Ammonia Glossy Curl Color kit includes a post-color gloss shot infused with vitamin E and coconut oil that acts as a topcoat for your curls. It seals in the color, enhances curl definition, and provides a highly reflective, glossy finish that makes the hair look healthy and bouncy.

You might think you have crossed the finish line after conditioning, but this is the winning move. Enter the gloss shot. Think of the hair cuticle like roof shingles. When they lie flat, light bounces off evenly. That is shine. When they lift, light scatters in every direction. That is frizz. 

Applying a targeted leave-in oil gloss drop creates a smooth, water-repelling seal over those cuticles. Snap off the tip of the Leave-in Oil Gloss Drop. Apply it to dry or damp hair by slowly adding small drops and combing it through from the mid-lengths to the tips. Do not rinse it out. Just style your curls as usual. This final step leaves your hair looking incredibly vibrant, ensuring your curls remain defined, soft, and 3X shinier2.

Close-up of a hand holding a single-use oil capsule with golden liquid inside, positioned near dark curly hair and lips
Before-and-after comparison of curly dark hair showing gray strands on the left labeled "Before" and full gray coverage on the right labeled "After, 100% Gray Coverage" for shade CR3.

Enjoying Your Vibrant New Color

Coloring curly hair at home is entirely achievable when you use a formula designed to respect your texture. Now that you have secured vibrant, 100% gray coverage, it is time to focus on long-term maintenance.

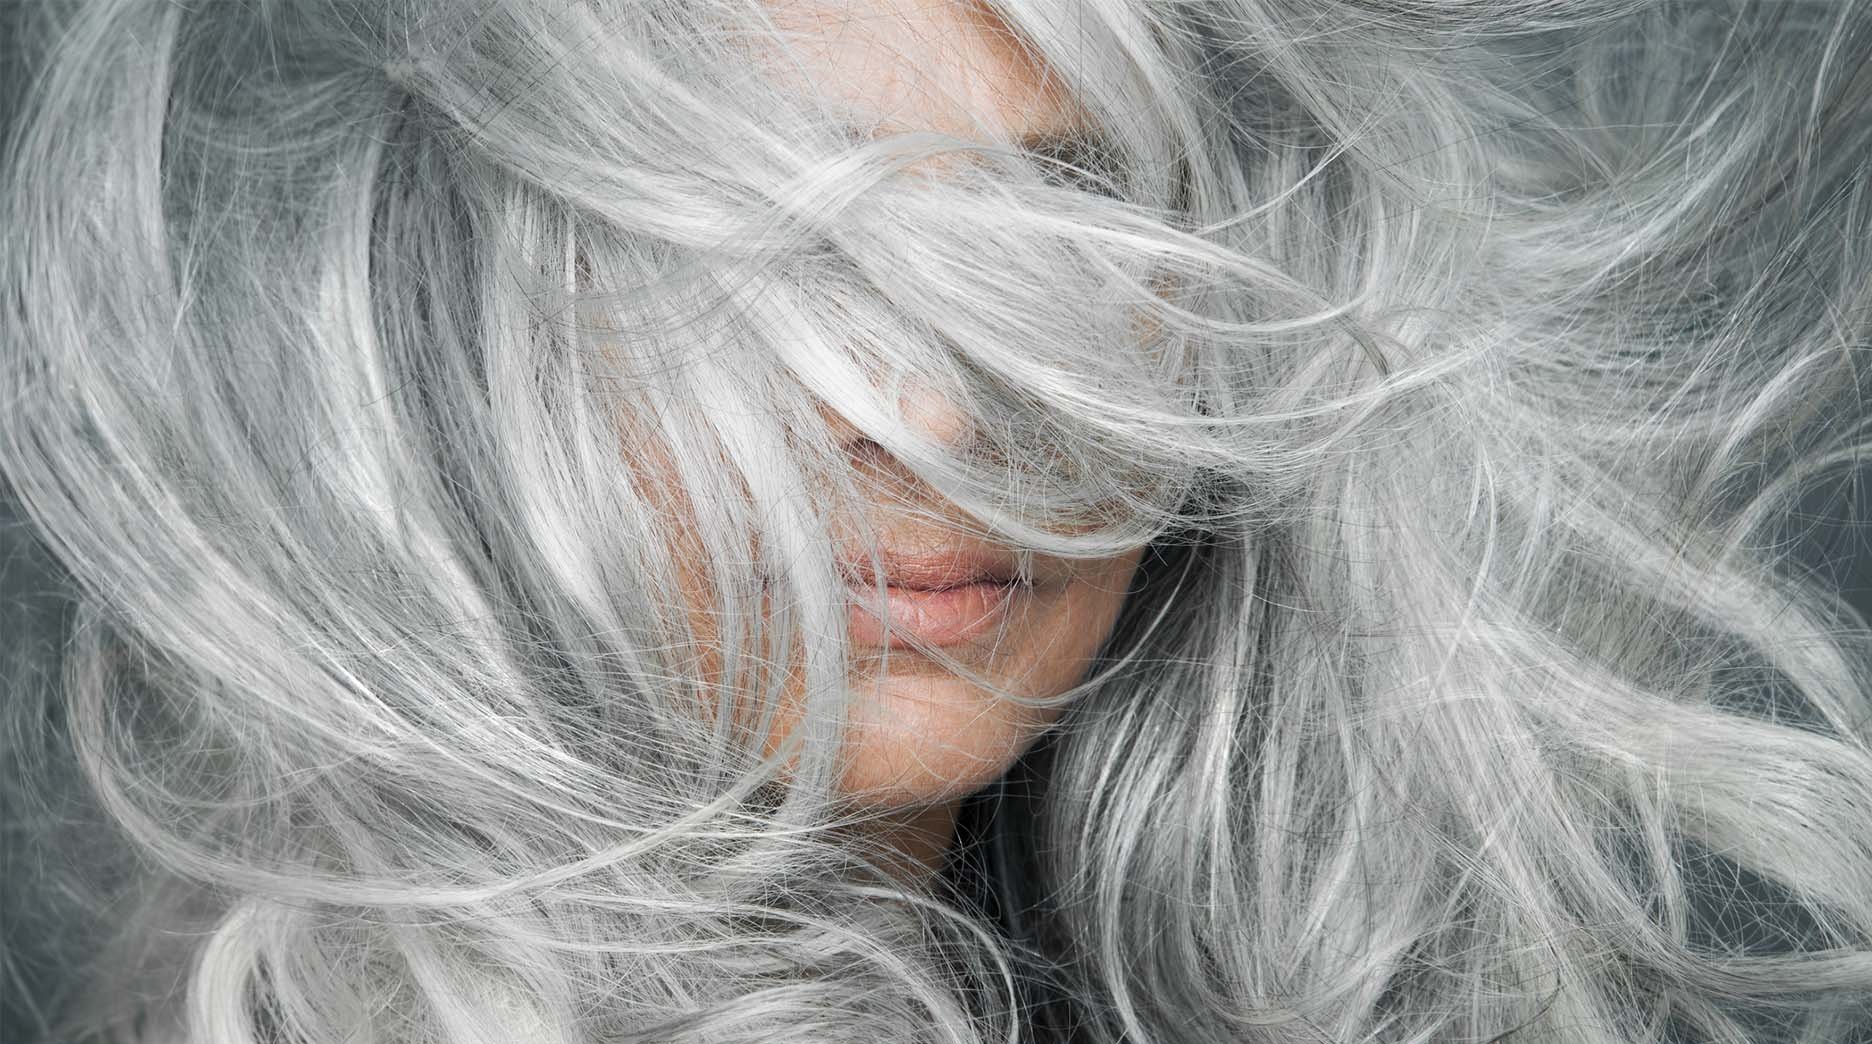
Because textured hair is naturally prone to dryness, keeping your new shade looking fresh means prioritizing hydration long after dye day. Your winning strategy is to adapt your everyday wash routine. Swap out drying shampoos for gentle cleansers that will not strip your color or your natural oils.

To protect your bounce and keep humidity at bay, incorporate a rich hair conditioner to seal your strands. By treating your colored curls to consistent, targeted moisture, you ensure your shade remains vibrant and your natural texture stays beautifully defined.

Sources (1) Instrumental test vs. untreated hair (2) Instrumental test vs. unwashed hair

Frequently Asked Questions About Coloring Curls at Home

How do I use Garnier Nutrisse 0% Ammonia Glossy Curl Color?

To use Garnier Nutrisse 0% Ammonia Glossy Curl Color, start by safety test, and sectioning dry, detangled hair. Apply the liquid gel mixture to your roots first, then pull it through the lengths. Leave it on for 30 minutes, rinse until the water runs clear, apply the moisturizing conditioner, and finish with the leave-in gloss shot.

How long does the color last?

Garnier Nutrisse 0% Ammonia Glossy Curl Color is actually a permanent hair dye. This means the color will not wash out over time; instead, it lasts until your hair grows out or you decide to color over it. It delivers 100% gray coverage that stays vibrant, especially when you maintain your curls with the included moisture-rich conditioner.

How does the gloss shot actually work?

The leave-in gloss shot in Garnier Nutrisse 0% Ammonia Glossy Curl Color is packed with vitamin E and coconut oil. It works by coating the hair fiber, smoothing down the cuticle to lock in moisture and reflect light, which leaves curls looking shinier and more defined.

Is it suitable for coily hair types?

Yes. Garnier Nutrisse 0% Ammonia Glossy Curl Color is specifically developed for all curl textures, including wavy, curly, and coily hair. The liquid gel formula is designed to easily saturate dense hair types without causing excess friction.

Does Garnier Nutrisse 0% Ammonia Glossy Curl Color really prevent breakage?

Yes. In an instrumental test vs. untreated hair, Garnier Nutrisse 0% Ammonia Glossy Curl Color resulted in 5X less breakage1. The easy-to-spread liquid gel formula allows you to saturate your curls without aggressive pulling or combing.

What makes Garnier Nutrisse 0% Ammonia Glossy Curl Color different from standard cream dyes?

Instead of a thick cream, Garnier Nutrisse 0% Ammonia Glossy Curl Color uses a liquid gel formula. This texture melts into textured hair much easier, allowing for complete saturation without disrupting your natural curl pattern.

Is it cruelty-free?

Yes. All Garnier products, globally, are officially approved by Cruelty Free International. Garnier Nutrisse 0% Ammonia Glossy Curl Color also features a vegan formula, meaning it contains no animal-derived ingredients.

Garnier Commits to Greener Beauty