7 skin care tips for the perfect diy at home facial
Getting a facial is always a treat, but it doesn’t have to be a rare occasion. Even without dropping big bucks, all it takes is a little ambiance and a few skin care products for the perfect DIY facial. With these facial tips, you can pamper your skin in the comfort of your own home. All you need are the right skin care products, some time to indulge, and if you really want to set the scene, few candles. Get the low-down on the perfect DIY facial from us here. You’ll have glowing skin in less than an hour.
Step #1 Set the Scene
What makes a spa facial super relaxing is that for 30 minutes or more you get to relax while someone cleans and moisturizes your face. If you’re doing your own facial you obviously won’t be able to just lay down and get pampered, but you can still make it a relaxing experience. The first thing you need to do is gather all the skin care products you need and have them on hand. You’ll need the following products: a facial cleanser, makeup remover, exfoliator, a hot towel or facial steamer, a face mask, lip balm and face moisturizer. If you’re feeling extra luxe, light some candles, put on some relaxing music, you could even draw a bath as the “steam” element of your facial. Lastly tie your hair up so you can work on your face. Use a hairband or put your hair in a ponytail to secure your hair and ensure you’re only putting product on your face and not your tresses.
Step #2 Remove Your Makeup
The first step of the perfect at home facial is removing your makeup. Use a milky facial cleanser or micellar water to remove your foundation, mascara, bronzer, blush and more. You may want to cleanse your skin twice to make sure it’s totally clean — once to ensure makeup removal, and again with a facial cleanser that will also exfoliate your skin. A good way to ensure that is by double cleansing.
Step #3 Use an Exfoliating Scrub
When you exfoliate, you remove dead skin cells from the surface of your skin and allow products to work effectively. Apply a gentle scrub (use one without harsh sand or crystal particles) and gently massage it onto your skin in a light circular motion. If you have oily skin a great exfoliating product to use is Garnier SkinActive’s Clean+ Blackhead Eliminating Scrub with salicylic acid and charcoal to help remove impurities. Rinse with lukewarm water several times to make sure your skin is clean.
Step #4 Steaming your Face
Laying under a steamer during a professional facial is super relaxing and also helps open up your pores. Even if you don’t have a steam machine at home you can still recreate this process fairly easily. Fill a bowl with steam water and hold your face over it for a few minutes with a towel over your head to seal in the steam. Alternatively you can use a hot washcloth or even paper towels and leave it on your skin for a few minutes. This will open up your pores just like at the spa.
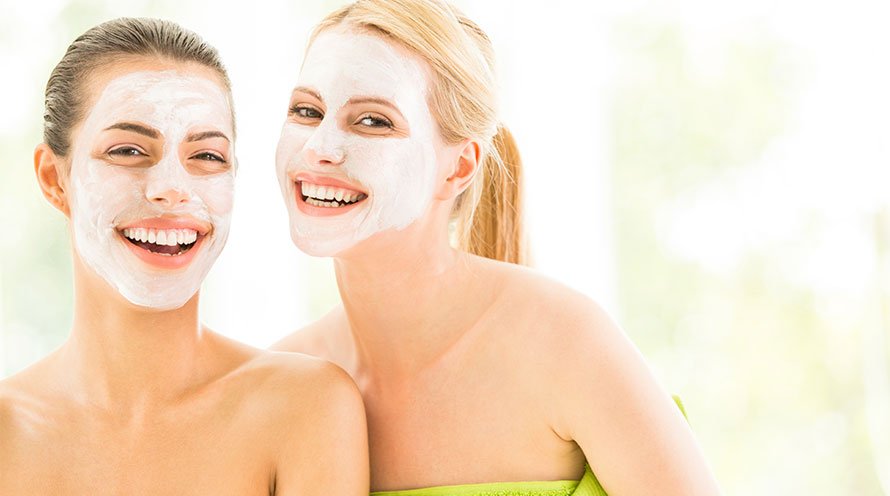
Step #5 Face Mask Time
Now that your pores are open it’s the perfect time to apply a face mask to suit your skin’s needs. Do you have dry skin? You should opt for a nourishing and hydrating face mask to help your skin feel moisturized. Choose a face mask with humectants and emollients like ceramides to help your skin’s barrier function. If your skin is oily or acne-prone use a clay mask to draw out impurities and excess oil which can cause blemishes. Apply it to moist skin and let the minerals work on your skin. Keep it on until just before the face mask starts to dry and crumble. If a clay mask gets completely dry it robs your skin of moisture, so don’t keep it on too long. If you have sensitive skin, use a calming and restorative face mask. Choose a face mask with chamomile to help soothe your skin.
If you have normal, blemish-free skin you can use a product that will help improve your overall skin complexion. Use a face mask with citric or glycolic acid for a fresh, even-toned complexion.
Step #6 Take Care of Your Eyes and lips
Our eyes and lips are often neglected and under-moisturized. Now is a great time to apply an eye cream or gel with retinol to reduce the appearance of fine lines in this delicate area. Apply a nourishing balm to your lips to moisturize your pout.
Step #7 Massage in a Face Moisturizer
Moisturizer is the final step in your DIY facial. It’s extremely important because it locks in all the skin care products you’ve applied up to this point. Use a face moisturizer with antioxidants to help fight free radicals and help your skin look its best. Look out for formulas with retinol, Vitamin C, Vitamin E, green tea or reservatrol.
With just a few easy steps you can have the perfect at-home facial. You don’t always have to go to the salon to have fantastic looking skin.


